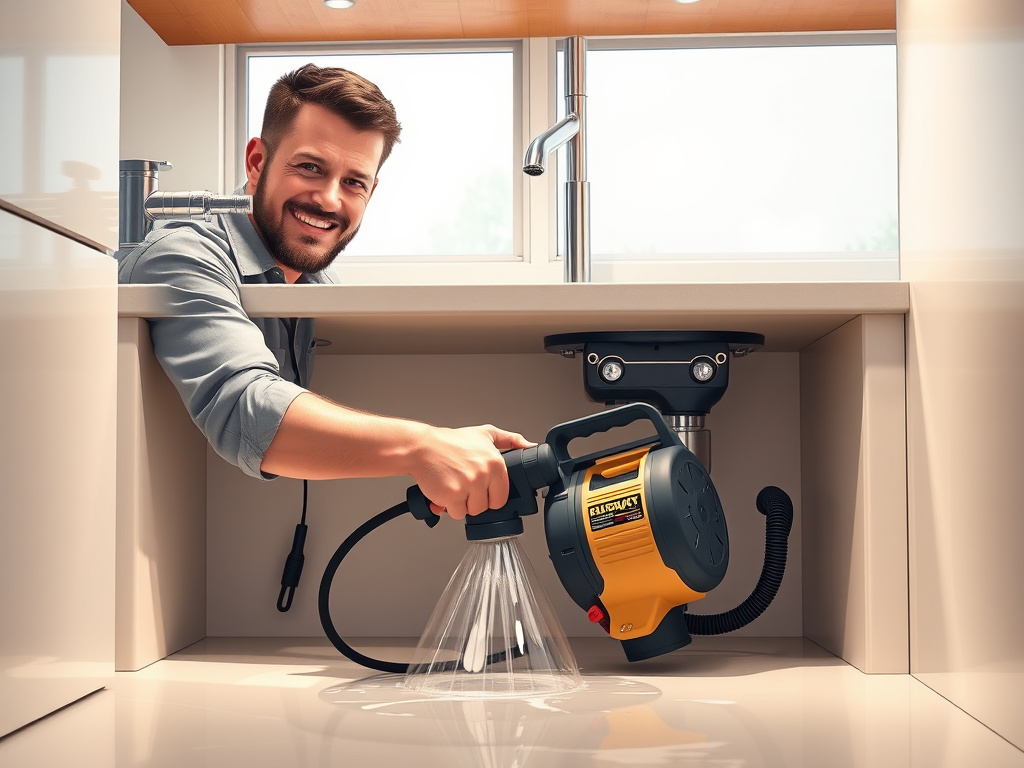
Unclogging Masterclass: Rapid Solutions for Stubborn Drain Blockages
When a drain fights back with a stubborn clog, it’s tempting to panic or assume you need professional help. The truth is that many blockages can be cleared quickly and safely with a structured approach and a few reliable techniques. This masterclass walks you through practical, proven steps to identify the type of blockage, choose the most effective method, and execute a cleanup plan that restores flow without damaging your pipes or household surfaces.
Before diving into the methods, it’s essential to adopt a mindset of prevention and safety. Gather the right tools, understand the risks of chemical cleaners, and recognize warning signs of more serious plumbing issues. By combining careful inspection with smart technique, you’ll reduce the likelihood of repeat clogs and extend the life of your drainage system.
Start by observing the symptoms: is water draining slowly in one fixture or multiple drains, is there a gurgling sound, or is there a strong odor emanating from the pipes? A quick assessment helps distinguish between organic blockages like hair and soap scum, mineral deposits, and mechanical obstructions. Once you have a plausible cause, select the approach that aligns with the blockage type. For organic clogs, a combination of mechanical agitation with a plunger and practical safe-use plungers can provide immediate relief, while metal snakes or augers are effective for deeper or more stubborn jams. For mineral buildup, you’ll lean toward chemical or enzymatic cleaners under careful usage guidelines, ensuring you protect seals and gaskets from prolonged exposure. If there is a possibility of a non-plumbing issue—such as a broken trap, vent problems, or a sewer line backup—recognize the limits and consider professional input. This diagnosis phase is crucial because it prevents the misapplication of aggressive tools that might damage pipes or fixtures.
With the right information, you can proceed through practical methods that balance effectiveness with safety. Begin with a standard plunger to create a strong seal and a powerful push-pull motion to dislodge the clog. If the water remains stubborn, a secondary tool such as a drain snake can be extended gently into the pipe to break through resistant sections, pulling out hair, soap scum, or tiny objects that have formed a bridge across the passage. For hair and soap-knotted blocks, a flexible hand auger is particularly effective, allowing you to run the line beyond the immediate trap and into the pipe without causing gouges or scratches. When considering chemical aids, opt for consumer-safe enzymatic or petrifying cleaners that degrade organics over several hours, while avoiding mixing products that can create dangerous fumes or reactions. It’s essential to follow the product instructions, never mix cleaners, and flush thoroughly with hot water after treatment to carry away loosened debris. Throughout this process, protect your hands with gloves, wear eye protection, and ventilate the area to minimize exposure to fumes. If there are persistent odors, slow drainage that worsens after treatment, or water backing up into other fixtures, step back and reassess; these symptoms often indicate a more complex issue such as a vent obstruction or a compromised trap seal that requires professional attention.
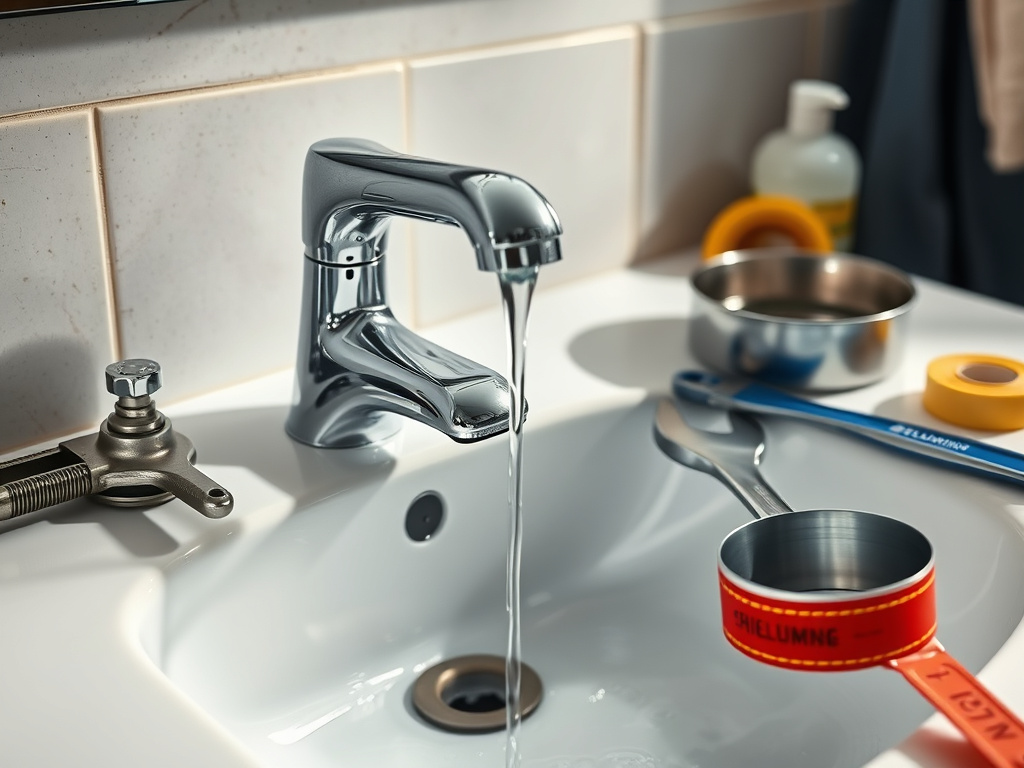
Fix It Fast: Tackling Leaky Faucets and Seeping Pipes with Confidence
Leaky faucets and seepage around pipes are among the most common annoyances in any home, quietly wasting water and signaling underlying wear before a major failure occurs. This guide extends practical, confidence-boosting techniques that empower you to address these problems quickly, safely, and without turning a simple fix into a costly project. By combining a clear diagnostic approach with the right tools and careful technique, you can halt drips, reduce water bills, and extend the life of your fixtures.
Begin by setting a practical mindset: identify the source of the leak, assess whether the issue is a dripping faucet, a loose connection, or moisture seeping through joints. The distinction matters because each scenario calls for a different level of intervention—from simple washer replacements to tightening fittings or sealing with appropriate compounds. The goal is to restore a tight seal and steady flow while avoiding damage to enamel, chrome finishes, or delicate plumbing components. If you notice puddling under cabinets, inspect supply lines, valve connections, and the trap for signs of corrosion or wear, as early detection can prevent a larger water intrusion and potential mold concerns.
Freshen up the fixtures with a systematic approach that respects both efficiency and safety. Shut off the water supply before touching any component, then test the temperature and pressure at the faucet to anticipate how much water remains in the lines. For a dripping faucet, the fix often lies in replacing worn washers or seals, which are inexpensive and straightforward to swap with basic tools. A cartridge or stem faucet may require a precise removal process: note the order of parts as you disassemble, so you can reassemble correctly and maintain alignment with the handle and escutcheon. Tightening connections should be done gradually with a steady hand, avoiding overtightening that can crack housings or strip threads. When you encounter a seam that seems damp but not actively leaking, consider applying a fresh thread sealant or plumber’s tape to threaded joints, ensuring a clean, dry surface before resealing.
Addressing seepage through pipes calls for a slightly different discipline. If moisture appears around joints or along copper or galvanized lines, inspect for corrosion, pinhole leaks, or trained signs of mineral buildup that can stress the metal over time. In many cases, minor seepage is caused by loose fittings that can be tightened with an appropriate wrench. If loosening reveals a damaged gasket or a crushed compression ring, replacement is the wiser path to a durable seal. For pipes behind walls or under slabs, where access is limited, a temporary patch with epoxy putty can buy time while you arrange a professional repair, but remember that permanent fixes usually require re-piping or part replacement. The key to seeping pipes is recurring inspection—watch for changes after weather swings, seasonal expansion, or heavy use, which can stress joints and accelerate leaks.
To maximize results, pair mechanical fixes with preventative measures. Consider upgrading worn-out valves to ball-type shutoffs for quicker, more reliable isolation, and install leak detectors in hotspots such as under sinks, near water heaters, and along main supply lines. Routine maintenance, including periodic painting of exposed copper with protective sealant, cleanup of mineral deposits, and prompt replacement of aging seals, can greatly reduce the frequency of leaks. If the sight of a persistent drip or damp patch returns after a repair attempt, don’t hesitate to consult a licensed plumber for a professional assessment; some leaks may be symptoms of larger issues like hidden corroded lines or compromised routing that require specialized tools and code-compliant solutions.
In the end, confidence comes from a calm, methodical plan and the right references. Keep a small toolkit at hand, document your fixes with notes or photos, and schedule a brief follow-up check to confirm that the leak remains resolved. By following these steps, you’ll turn an ordinary nuisance into a manageable maintenance task, keeping your water system efficient and dependable for years to come.
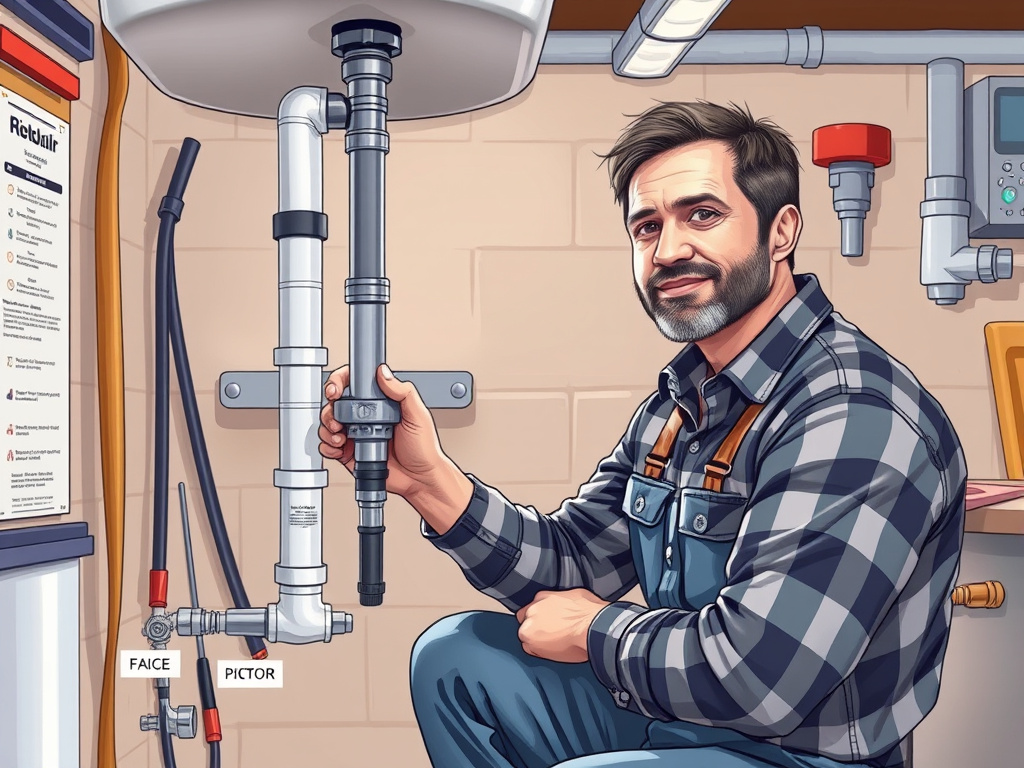
The No-Sweat Guide to Installing and Repairing Water-Supply Lines
Water-supply lines are the lifelines of any home, delivering the reliable flow you rely on for cooking, cleaning, and comfort. When these lines fail or misbehave, you want a plan that makes sense, keeps you safe, and protects your wallet. This no-sweat guide builds on our practical approach to common plumbing problems by focusing on the essentials of installing and repairing water-supply lines with confidence, clarity, and caution. You’ll discover how to assess the situation, choose the right materials, and execute steps that minimize disruption while preserving water quality and system integrity.
First, set the groundwork for a smooth project. Before you touch a pipe, shut off the main supply and relieve pressure by opening a faucet at the lowest point in the system. This simple precaution prevents a geyser moment and protects you from burns or splashes. Then take a quick inventory of what you’re dealing with: is the line old and corroded, is there a leak at a valve, or is the line feeding a fixture still delivering steady water? A clear diagnosis guides your material selection and the level of disassembly required. Use color-coded pipes as a memory aid—copper, PEX, and CPVC each have their own installation quirks—so you can plan connections that reduce the risk of leaks and incompatibilities.
Material choice and compatibility significantly influence long-term reliability. PEX tubing offers flexibility, ease of crimp connections, and a forgiving install that’s ideal for retrofit projects. Copper provides durability and a proven track record, though it requires soldering or compression fittings and careful handling to avoid heat damage to nearby components. CPVC can simplify hot water distribution, but you’ll need the correct solvent cement and ventilation for safe use. The critical part is ensuring that all joints, fittings, and connectors are rated for potable water, comply with local codes, and match the pipe material you’re switching to or repairing. When you combine the right materials with proper spacing from heat sources and electrical conduits, you unlock a reliable, future-proof supply line that stands up to daily demands.
Step-by-step execution without drama is the hallmark of a no-sweat installation. Start with precise measurements and dry-fit sections to confirm lengths and angles before cutting. For PEX, you’ll typically use a cutter for clean ends, followed by pretreatment with a stiffener and an expansion or crimp method, depending on the system you choose. For copper or CPVC, ensure clean, square cuts and deburred edges to avoid burrs that can trap debris. When making connections, use the appropriate fittings—compression sleeves for copper, crimp rings for PEX, or solvent cement for CPVC—and always inspect for alignment with the fixtures they serve. Don’t rush the pressure test; briefly turn the water back on and look for drips at every joint. If a leak appears, depressurize, correct the issue, and re-test until the line holds steady. The moment you see solid, consistent flow with no seepage, you’ve earned a peace-of-mind win, and your house remains safe from water damage and wasteful drips.
Safety and hygiene take center stage throughout the process. Wear eye protection when cutting pipes, use proper ventilation with solvent-based products, and keep kids and pets away from work zones. Sanitation is non-negotiable for drinking water lines: flush the system after installation to clear debris, and consider a municipal-approved sanitizer or a simple freshwater flush if you’ve worked with new materials. When expanding or rerouting lines, preserve clean routes that avoid crossing electrical conduits or gas lines and ensure that any new fixture boxes are secured and accessible for future service. If you encounter a stubborn stubborn obstacle—such as an embedded lead solder residue or an older, lead-containing solder in copper lines—consult a licensed plumber to ensure your materials and methods meet current safety standards and code requirements.
Final checks and maintenance mindset seal the deal. After a successful test, label new lines and caps, create a simple map of the updated distribution paths, and note the install date for routine inspections. Establish a habit of checking for slow leaks around shutoff valves, joint areas, and buried runs after seasonal shifts or high-demand periods. With these practices, you’ll master water-supply line work that feels effortless, minimizes risk, and keeps your home’s plumbing dependable for years to come.
Battle-Tested Strategies for Battling Running Toilets and Flush Malfunctions
Few household problems are as distracting and persistent as a toilet that seems to run on and on. It not only wastes water but also disrupts the daily rhythm of your home. This section distills battle-tested strategies to diagnose, repair, and prevent running toilets and flush malfunctions, drawing on practical methods that empower you to regain control without unnecessary calls to a plumber. By approaching the problem with a clear plan, you protect your wallet, conserve water, and restore peace of mind.
First, establish a precise diagnosis by observing the symptoms in context. Is the tank refilling after every flush, even when no one has used the bathroom recently? Do you hear a continuous hiss of water, or does the fill valve cycle more often than expected? These clues help distinguish between common culprits such as a malfunctioning flapper, a faulty fill valve, or a misadjusted float. A running toilet often starts with a small, almost invisible leak past the flapper, which becomes audible as the tank empties and refills. A steady hiss can indicate a mis-seated or worn valve, while an overactive float may cause the fill valve to admit water more aggressively than necessary. Recognizing the exact symptom makes the subsequent steps targeted and efficient.
Next, tackle the most frequent offenders with a disciplined, stepwise approach. If a worn or warped flapper is the culprit, you can usually replace it quickly with a standard universal kit. Begin by turning off the water supply to the toilet and draining the tank, then remove the tank lid and inspect the flapper’s seal and chain length. A flapper that sticks or warps will fail to form a watertight seal, allowing siphon and seepage that keep the tank from maintaining proper water level. Replace with a new wax- or silicone-sealed flapper that matches the size and type of your flush valve, and adjust the chain so there is a little slack when the flapper is closed. The goal is consistent closure without binding against the flush lever, which would create another failure point.
When the problem is a weakened fill valve or an incorrect water level, calibration and part replacement are usually the remedy. Start by measuring the water level inside the tank; consult the manufacturer’s instructions to determine the correct level, typically a half-inch below the top of the overflow tube. If the water is rising too high and spilling into the overflow, you may need to replace the fill valve with a compatible model. If the shutoff is sluggish or the valve doesn’t shut off cleanly, a new fill valve can restore proper cycling. After installing a new valve, adjust the float to ensure the tank fills to the recommended level and stops. This adjustment is often performed by a simple screw or clip mechanism on the float arm or on the fill valve body.
Maintenance habits form the backbone of lasting performance. Regular inspection of the flapper seal, float operation, and fill valve function can catch wear before it becomes a full-blown nuisance. A quick weekly check—listen for odd running sounds, observe the water level after a flush, and note any changes in the flush cadence—helps you detect drift early. If you encounter stubborn issues where the tank refills despite a closed flapper, or if you notice persistent ghost flushes that occur without input, it may indicate a more complex problem such as a cracked overflow tube or a corroded flush mechanism. In those cases, bring in professional insights while keeping preventative measures in place for ongoing efficiency.
Finally, embrace a preventive mindset that maximizes efficiency and minimizes surprises. Use high-quality replacements designed for your model, avoid over-tightening connections, and keep the interior of the tank clean from mineral buildup. A little routine maintenance—such as cleaning mineral deposits from the flush valve and keeping the chain free of twists—extends the life of the components and reduces the likelihood of mid-cycle failures. When all parts are operating as intended, you’ll experience a reliable, quiet flush cycle and dramatically lower the odds of a runaway toilet ordeal.
Preventive Armor: Proactive Maintenance to Preserve Your Plumbing System
Protecting your home’s plumbing isn’t just about reactive fixes—it’s about building a shield that keeps leaks, clogs, and inefficiencies from ever taking hold. Our preventive armor combines routine inspection, smart adjustments, and timely upgrades that together extend the life of your pipes, fixtures, and water heater while reducing costly emergencies. Think of maintenance as a daily defense: it minimizes disruption, saves water, and preserves value in your infrastructure for years to come.
Start with a systemic maintenance mindset that treats the plumbing network as an interconnected ecosystem. Regular checks across the entire system—from entry points at the water main to the fixtures in kitchens and baths—help you spot early signs of wear, corrosion, or pressure imbalances before they escalate into major problems. Create a simple schedule that aligns with seasonal changes: inspect outdoor hose bibs before a freezing winter, test pressure relief devices as temperatures rise, and audit sealants and gaskets when you perform other home maintenance tasks. A proactive approach isn’t just about catching leaks; it’s about optimizing flow, water quality, and efficiency across all components.
One of the most effective preventive measures is to implement a basic yet powerful routine: maintain clean, accessible drains and vents, monitor water pressure, and keep shutoff valves in good working order. Clean drains with non-aggressive methods that keep the pipe lining intact—regular, moderate use of enzymatic cleaners helps sustain organic debris breakdown without harming seals. At the same time, monitor venting and trap seals, because proper venting prevents pressure buildup that can amplify noises, cause slow drains, or contribute to sewer gas odors. Together, these steps create a resilient backbone that supports every fixture and appliance in the home.
Keep an eye on wear-prone components and schedule timely replacements before they fail. Aging valves, worn washers, corroded connectors, and brittle hoses pose invisible threats that can lead to water damage and high repair costs if neglected. Establish a replacement cadence for high-use items like supply hoses on sinks, toilets, and appliances, and prefer components with durable materials and robust fittings that resist kinking, leaking, and mineral buildup. When you replace, choose compatible, code-compliant options that match your system’s materials and pressure ratings. A small upfront investment in quality parts pays dividends in reliability and peace of mind, making it easier to prevent a domino effect of failures across the network.
Protect water quality through disciplined sanitation and filtration awareness as part of preventive care. Flushing hot water heaters, sanitizing storage tanks according to manufacturer recommendations, and periodically testing for contaminants—where local regulations permit—keeps your drinking water safe and flavorful. If you have a water-softening system or filtration setup, schedule professional checks or follow manufacturer guidelines for cartridge replacements and resin bed maintenance. These measures reduce mineral scaling, preserve flow, and safeguard appliances that rely on clean, steady water supply.
In essence, preventive armor is not a single action but a continuous practice that blends observation, timely intervention, and thoughtful upgrades. By treating maintenance as a core habit rather than an afterthought, you create a fluid, responsive plumbing system that resists surprises and performs at its best when you need it most.