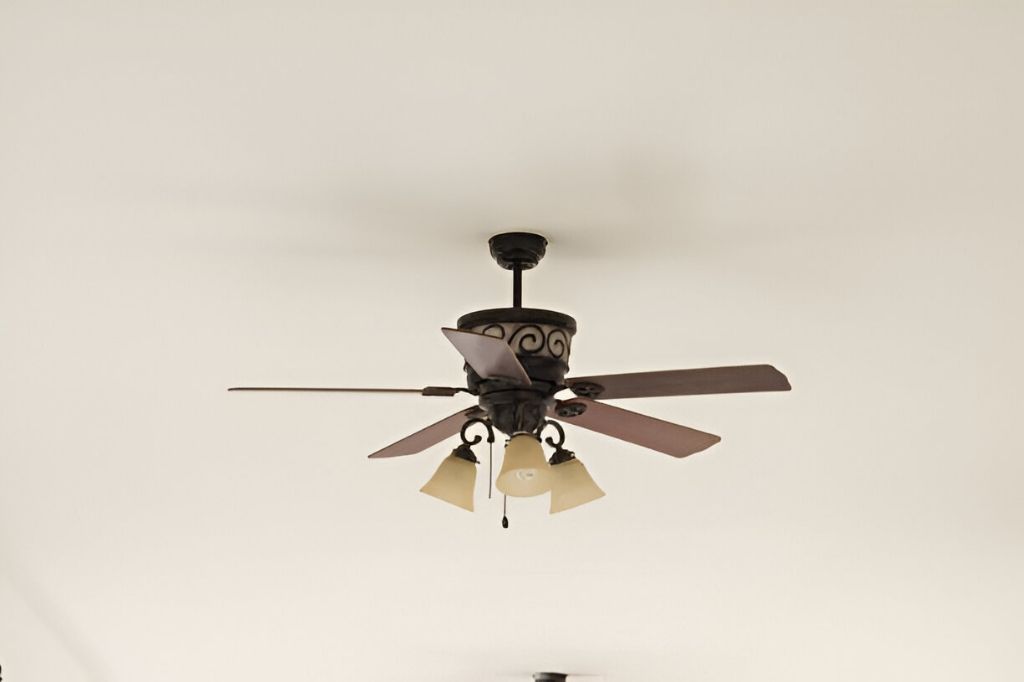
Ok, so here we go; have you ever looked up at that ol’ ceiling fan and thought, “Is today the day I finally take you down?” Because if you’re reading this, you’re probably ready to learn how to remove a Hampton Bay flush mount ceiling fan, and let me tell you, it’s not as crazy as it seems! Whether you’re trying to redecorate, maybe it’s broken, or honestly; just don’t like how it looks anymore, you’re about to become a pro at taking it down.
This guide will break it all down into simple steps, and trust me, by the end, you’re gonna feel like you’ve done this a hundred times before. Let’s jump in!
Why Would You Remove a Hampton Bay Flush Mount Ceiling Fan?
Ah, the reasons, the reasons. We all have ’em, right? Maybe the fan’s wobbling (been there), or maybe it makes that weird buzzing noise that always creeps in just when you’re trying to watch TV in peace. And sometimes, it’s just plain ugly, no judgment! Or it’s outdated and doesn’t fit with your decor anymore, maybe the room got a style upgrade, and the fan, well… it didn’t keep up. Taking down a Hampton Bay fan can actually free up the room, like literally making it feel way more open. It’s just about having a clean slate, which; if you ask me; is pretty refreshing.
Or, heck, maybe it’s about saving a few bucks! If you’re not using the fan a lot, it could actually save a bit on electricity. Or let’s say you’re planning on installing a fancy new light fixture; the first step is getting this fan down and out. Whatever your reason, I promise, this won’t be some huge ordeal. Let’s just keep it cool, go step by step, and get this done.
Power Off! Safety First (Seriously)
First things first, make sure that power is OFF. I mean, really off. Head to that breaker box (you know, the one hiding in your basement or garage), and find the switch for the room you’re working in. Flip that switch off and double-check that the fan is actually not moving. You don’t want any surprises up there, so let’s keep this safe.
Once that’s done, if you’re still nervous, you can even use a voltage tester to make double sure there’s no current running up there. But yeah, that fan should be completely silent and still before you get started. Better safe than sorry, right?
Tools You’ll Need (Don’t Worry, Nothing Crazy)
You don’t need to be a pro to get this fan down, you just need a few basics:
– A ladder (please, no wobbly chairs)
– Phillips-head and flat-head screwdrivers
– Voltage tester (again, optional but helpful)
– A friend to help if you can get one! Trust me, having a second pair of hands makes a world of difference.
Got everything? Awesome. Let’s keep moving. With these tools, you’ll be able to handle pretty much any flush-mount fan out there, not just the Hampton Bay ones.
Take Down the Fan Blades First
Here’s a tip that makes everything way easier, take off those fan blades first! If you’ve ever tried taking down a fan with the blades still attached, you know it’s a heavy, awkward mess. So start by taking each blade off, one by one. The blades are usually held in with a few screws, so just carefully unscrew them and set each blade aside.
Oh, and a quick tip; keep those screws close to each blade. If you think there’s a chance you’ll re-use the fan someday, having those screws handy will save you a headache later. Taking off the blades will make the fan way lighter and more manageable, trust me.
If There’s a Light Kit, Take That Off Next
If your Hampton Bay fan has a light attached, go ahead and take that down too. The light kits usually come off pretty easily, you’ll probably see a few screws and some wires holding it on. Carefully unscrew and unplug everything.
Now, don’t yank the wires out! Gently untwist any wire nuts and pull the wires apart slowly. Hampton Bay fans have pretty simple wiring setups, so you shouldn’t get tangled up here. Just be a bit careful, and take your time to keep everything in good shape.
Loosen Up the Motor Housing and Disconnect the Wires
Now we’re down to the main part. You’ll notice there’s a metal housing holding the fan motor in place. There are usually a few screws here holding the housing up to the ceiling bracket. Unscrew these; but keep a hand on the fan, because once these are loose, it’ll be ready to come down.
Gently pull the fan down, and you’ll likely see a few more wires connecting it to the ceiling. Disconnect each of these carefully. Twist off any wire nuts and keep them safe if you think you’ll use them again. Once the wires are off, you’re done; the fan’s free to take down entirely.
Clean Up the Ceiling Area (Dust Alert!)
Alright, once the fan is off, take a look at the ceiling. If you’re planning to install something else, or even just leave it open, give the area a good wipe down. Ceiling fans, especially flush-mount ones, love to collect dust, and when you take them down, some of that might float down with it.
Get a damp cloth, and wipe up any dust or debris left behind. This is especially helpful if you’re installing a new light fixture, since you want a clean surface to work with. Plus, you’ll just feel good knowing it’s clean and fresh up there.
Editor’s note…
Phew, and there you have it! You’re officially a ceiling fan-removing pro now. Taking down a Hampton Bay flush mount ceiling fan isn’t rocket science, but it does take a little bit of patience. Just remember to stay safe, work at your own pace, and keep track of all those screws and wires.
Honestly, once you’re finished, you might even feel like tackling more home projects and you totally should. A little DIY work can really transform a room, and knowing how to remove a Hampton Bay flush mount ceiling fan is just one more skill to add to your toolbox. So go ahead and make that room look however you want it you’ve got this!